Difference between revisions of "Workbench User's Guide"
From RifidiWiki
| Line 37: | Line 37: | ||
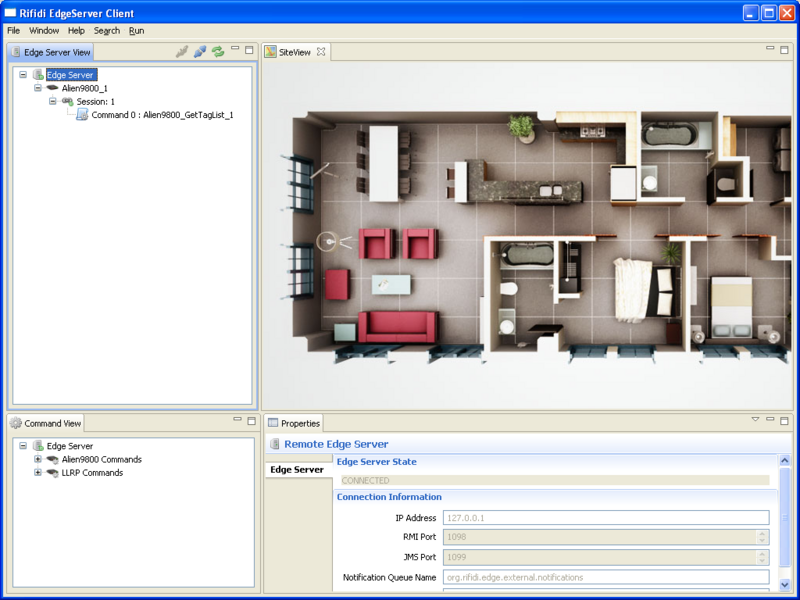
settings are correct, you should see red and green output on the console of the Emulator, and tags show up in the Tag view of the edge client. | settings are correct, you should see red and green output on the console of the Emulator, and tags show up in the Tag view of the edge client. | ||
| − | [[Image:EdgeClientScreen1.png |none|thumb|800px|The Rifidi | + | [[Image:EdgeClientScreen1.png |none|thumb|800px|The Rifidi Edge UI]] |
==ALE Example== | ==ALE Example== | ||
| Line 46: | Line 46: | ||
click “Subscribe”. | click “Subscribe”. | ||
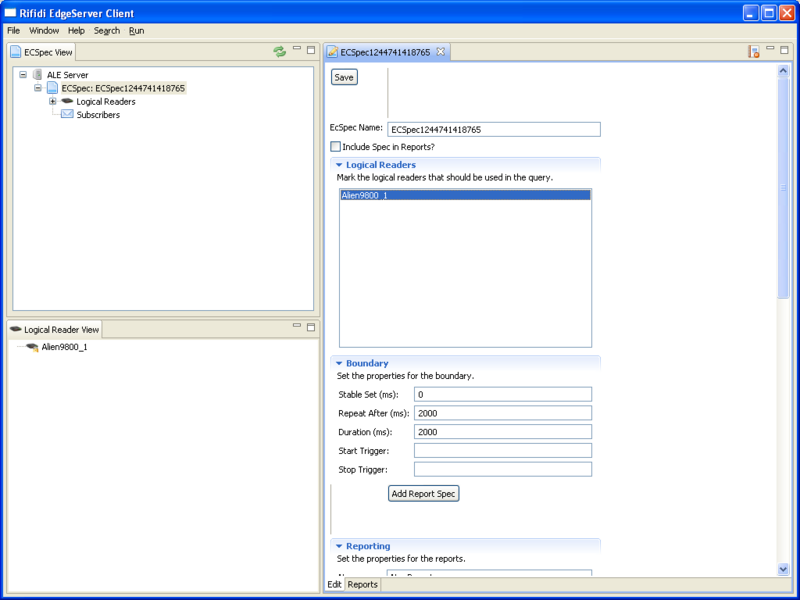
| − | [[Image:EdgeClientScreen2.png |none|thumb|800px|The Rifidi | + | [[Image:EdgeClientScreen2.png |none|thumb|800px|The Rifidi Edge UI]] |
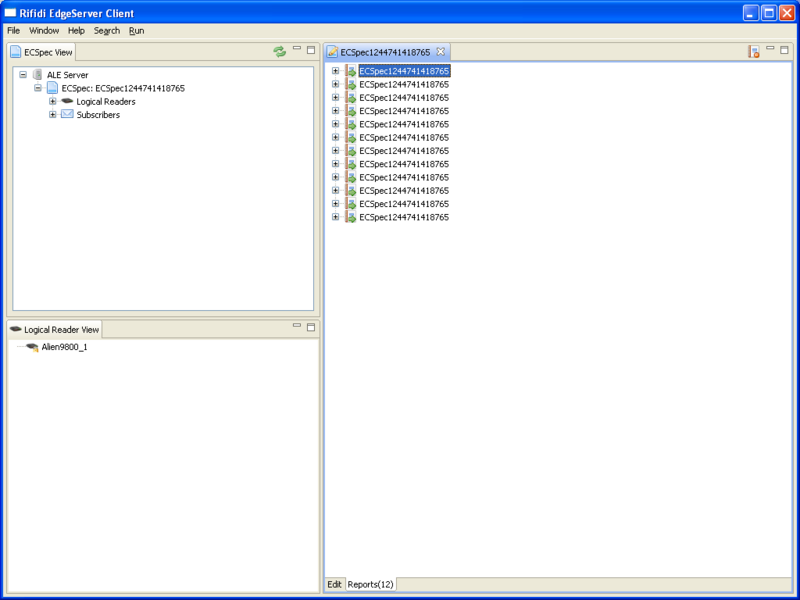
Reports should then start showing up at the “Reports” tab at the bottom. | Reports should then start showing up at the “Reports” tab at the bottom. | ||
| − | [[Image:EdgeClientScreen3.png |none|thumb|800px|The Rifidi | + | [[Image:EdgeClientScreen3.png |none|thumb|800px|The Rifidi Edge UI]] |
Revision as of 20:01, 11 June 2009
Contents
Rifidi Edge Documentation
Installing Rifidi Edge
1. Run the install file.
2. Choose the folder you want to install the edge server to.
3. Follow the rest of the steps in the install process.
Running Edge Server
1. Find the EdgeServer shortcut in the start menu and click on it.
2. A console will come up, showing the edge server has started.
Running Edge Client
1. Find the EdgeClient shortcut in the start menu and click on it.
2. Click on "Edge Server" in the "Edge Server View" tab.
3. Set the IP to the machine you are running the edge server on (127.0.0.1 if it is running on your local machine).
4. Right click on the Edge Server and click "Connect".
Example Use of the Edge Server
For this example, we will use the edge server and client to connect to a reader we create on the Emulator and read tags off of it. You can substitute the Emulator for a physical reader if you choose. To learn more about the emulator, you can find its documentation in the Emulator documentation summary. First, download and install Rifidi Emulator. Create an Alien ALR-9800 reader (make sure GPIO is enabled), and create and add some tags. Turn the reader on, and switch back to the Edge Client.
Now we will add the reader to this edge server. Right click on the Edge Server and select "Add Reader". Add an Alien with the IP and port of the reader you generated with the Emulator (or connect to a physical reader if you wish). Set any other options as you wish, and click "Finish". Right click on the reader you just created, and click "Create Session". A new session will be created. Sessions represent batches of commands. When a session is started, all commands that it contains will be executed on the reader in the parameters you give those commands.
We now have a session, but no commands to put in the session. Go to the bottom left and right click on the folder marked "Alien9800-GetTagList" under "Alien9800 Commands". Click on "Create Command Template" and Click on the command that is generated. Set the tag type you want to search for, and adjust which antennas you want to look on. Adjust anything else you like, and then right click on the command and select "Commit Property Changes".
Now go back to the session. Right click on it and press "Submit Job". Select the command you created, make sure "recurring interval" is selected, and select the interval you would like the command to repeat on (1000ms is the default). Press "Finish", right click on the session, and select "Start Session". Now right click on the reader and select "Open Tag View". Assuming your settings are correct, you should see red and green output on the console of the Emulator, and tags show up in the Tag view of the edge client.
ALE Example
For this example, we will create a basic ECSpec and use it with a virtual reader. First, follow the steps outlined previously on how to create a virtual reader. Make sure the session is running and a tag command is executing, then click on Window > Preferences and click on the ALE view. You should see the virtual reader you created in the lower left.
Give your EPC spec whatever name you like, click on the reader you created in the “Logical Readers” list, and set the Duration and the Repeat After. In this example, we will set the Repeat After and the Duration to 3000ms each. Click on “Add Report Spec, and check “Include EPC” in the output options. Go back to the top and press “save”, and then right click on the ECSpec you created and click “Subscribe”.
Reports should then start showing up at the “Reports” tab at the bottom.


