Tag Streamer User's Guide 1.0
From RifidiWiki
Introduction
Rifidi Tag Streamer is a load testing utility. It is primarily used to simulate large sets of tags and readers.
Requirements
- Microsoft Windows 2000/XP/2003 or Linux (Ubuntu, Red Hat, SuSe)
- Sun Java Runtime Environment 1.5 (J2SE 5.0)
- If you are having trouble running Tag Streamer 1.0, please see Workaround for JRE 1.6 Issue
Installation
Rifidi Streamer is available as a Installer package and in it's sources. You can pick the choice you want. The Installers representing the stable versions. The source code is under heavy development so it might happen that changes break functionality or that the product is not working at all.
- You can download the latest installer version of Rifidi Streamer from http://sourceforge.net/projects/rifidi/
- You can get the sources from http://rifidi.googlecode.com/svn. For instructions on how to run from source, click here
After you downloaded the installer double click to run the install. Then follow instructions on screen.
Launching Rifidi Streamer
- Windows Users: Simply click the shortcut located in the Rifidi folder in the Start Menu/Programs folder.
- Linux Users: Double click the executable file located in the installation directory.
Getting Started
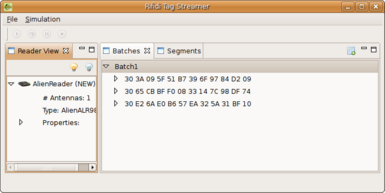
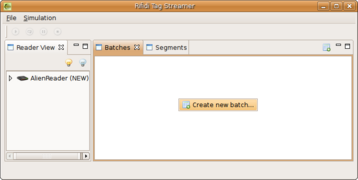
This is a short tutorial to get started with the Rifidi Streamer Application. The three important parts in the Rifidi Streamer are:
- Readers
- Batches
- Segments
Add a Reader
You will need to add a reader to simulate the underlying architecture. Currently we support the following reader types:
- LLRP Reader
- Symbol XR400
- Alien ALR 9800
- EPC Reader Protocol V1.1
- Awid MPR
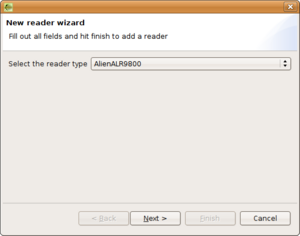
For adding a reader to the Rifidi Streamer you right click on the ReaderView and the popup menu for creating a new reader will show up.
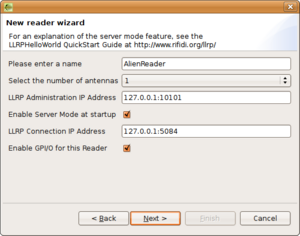
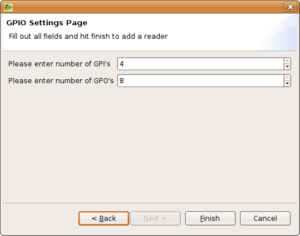
After that a new Wizard will lead you through the reader creation process. There you will be asked about the required attributes the reader should have.
The Wizard will ask you for the type, name and some reader specific values of the reader model you picked.
Add a Batch
The Batches represent a collection of RFID Tags. To create a batch right click on the BatchView or click the create batch icon (![]() ) in the right corner of the BatchView.
) in the right corner of the BatchView.
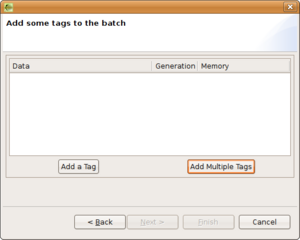
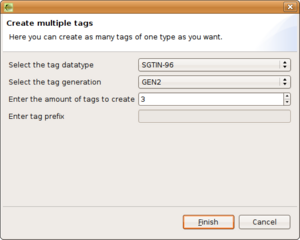
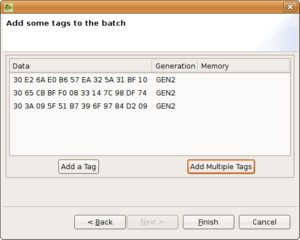
After that the Batch Wizard for creating new a Batch will be started. And you can add the Tags you want. Currently we support the following ID Types of tags:
- GID-96
- DoD-96
- SGTIN-96
- SSCC-96
and a customable tag format where it's possible to set the prefix of the tag id
- Custom-96
Add a Segment
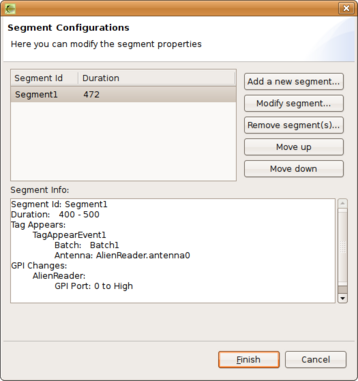
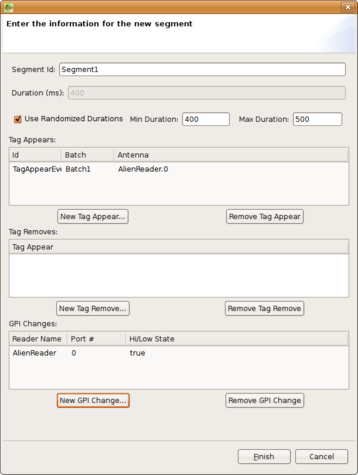
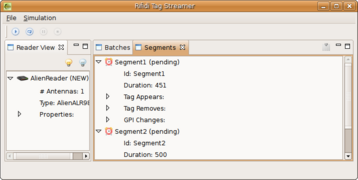
The Segments describe the events that occur during the simulation. A Segment consists of:
- Duration Time
- Tag appear events
- Tag remove events
- GPI events
To create a new segment click "create new segment"-button (![]() ) in the right corner of the SegmentView.
) in the right corner of the SegmentView.
Duration Time
The duration time is the time the segment will execute. If you start the simulation in infinite mode it will redo the scheduled events after this period of time. You can also select a min and a max value. If you do so, the application will pick a random number between these two values and execute for that number of miliseconds. Every time the segment is executed, a new time (between the min and max values) time is calculated.
Tag appear Event
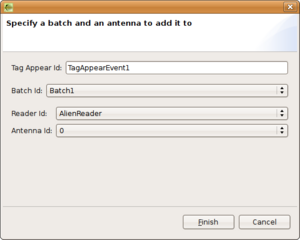
The "Tag Appear" event is basically adding a batch to an antenna of a reader. Every time the segment is executed the batches (RFID Tag Collections) in the associated Tag Appears will be added to the specified antenna. Note that tag appears can only use batches and readers that have already been created, so make sure you create all the batches and readers you'll need beforehand.
Tag remove Event
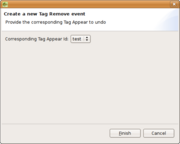
The "Tag Remove" event removes previously added tags from a reader. This is executed every time the segment runs. It's not good to remove and add tags in the same segment. It might make sense to create two segments. The first segment adds tags to the antenna of a specific reader and the second segment removes these tags later on.
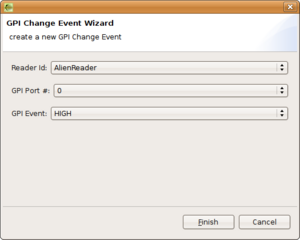
GPI Event
The GPI Event sets an input port of the reader to a certain level. There a two levels available:
- High (gpi port input signal is set)
- Low (gpi port input signal is not set)
How it works
General
After you have specified a Reader, Batches and Segments you can run the simulation tool. The application will execute every segment you defined and add tags, remove tags or set GPI events. Usually one Segment consits of a "Tag Appear Event" or a "Tag Remove Event" and maybe a "GPI Event". It also has a duration time which specifies how much time is to pass before the next segment is executed. If you run the Simulation in "infinite" mode, the segment will run for the specified time and than execute again. If there is a segment with a "Tag Appear Event" it's most likely that you will also define another segment with a "Tag Remove Event".
UI
The graphical user interface is a easy to use solution for people new to the Tag Streamer. It allows you to create the three different parts which are needed by the application. After you created a Reader, some Batches and Segments you are able to safe those to your file system. You can load the save files by clicking the appropriate button in the "File"-menu of the application.
XML
Everything you can create in the UI and everything you need for running the Rifidi Streamer simulation is savable in the XML files. So if you want you can also write some XML files and load those after the program start into the application.
Documentation on the underlying XML files will be available soon.
Start Simulation
You have two possibilities to run the Rifidi Streamer
You can see the buttons for both options in the toolbar under the filemenu. Press the "run once" button to run all segments once or press "run infinite" button to run the segments until the "stop" button is pressed.
Pause/Stop Simulation
When the application is running the buttons for stopping and pausing the current execution will become enabled. If you want to pause the simulation press the "pause" button. If you want to stop the simulation and loose all the current data press the "stop" button.
Reset Simulation
Currently we do not support the ability to reset the simulation completely. The current implementation resets all added tags after each loop of the simulation, and also when the simulation is stopped. The ability to reset the simulation will be added in the future, and we apologize for the inconvenience in the meantime.
Turn On All Readers
There is a button "start all readers" (![]() ) in the toolbar of the reader view which will switch all readers on.
) in the toolbar of the reader view which will switch all readers on.
Turn Off All Readers
There is a button "turn off all readers" (![]() ) in the toolbar of the so called ReaderView to turn off all readers at once.
) in the toolbar of the so called ReaderView to turn off all readers at once.
