Difference between revisions of "Emulator User's Guide"
From RifidiWiki
m |
|||
| Line 1: | Line 1: | ||
| + | [[category:userDoc]]] | ||
=Requirements= | =Requirements= | ||
*Microsoft Windows 2000/XP/2003 or Linux (Ubuntu, Red Hat, SuSe) | *Microsoft Windows 2000/XP/2003 or Linux (Ubuntu, Red Hat, SuSe) | ||
Revision as of 19:21, 8 November 2007
]
Contents
Requirements
- Microsoft Windows 2000/XP/2003 or Linux (Ubuntu, Red Hat, SuSe)
- Sun Java Runtime Environment 1.5 (J2SE 5.0) or higher
Installation
Rifidi is completely written in Java so installation is very easy. Additionally, Rifidi is packaged in a standard installer.
- Download the latest version of Rifidi Emulator from http://sourceforge.net/projects/rifidi/
- Double click to run the install. Follow the on screen instructions.
Launching Rifidi
- Windows Users: Simply click the shortcut located in the Rifidi folder in the Start Menu/Programs folder.
- Linux Users: Double click the executable file located in the installation directory.
Starting a Virtual Reader
- Once the program is loaded, the main GUI will be present.

- To start the reader, click the 'add reader button'.
- Select the reader type to be emulated and pick the address to start the reader on. For the purposes of this quickstart guide, start an Alien Reader.
 Select the kind of reader
- Select the Reader's IP and port address. 127.0.0.1:1000, will use the loopback address of the current system and start listening on port 30000.
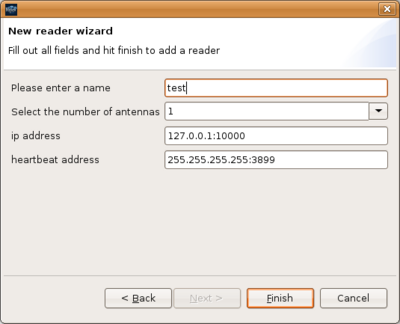 Supply the reader's IP and port
 - Right click the reader and press start
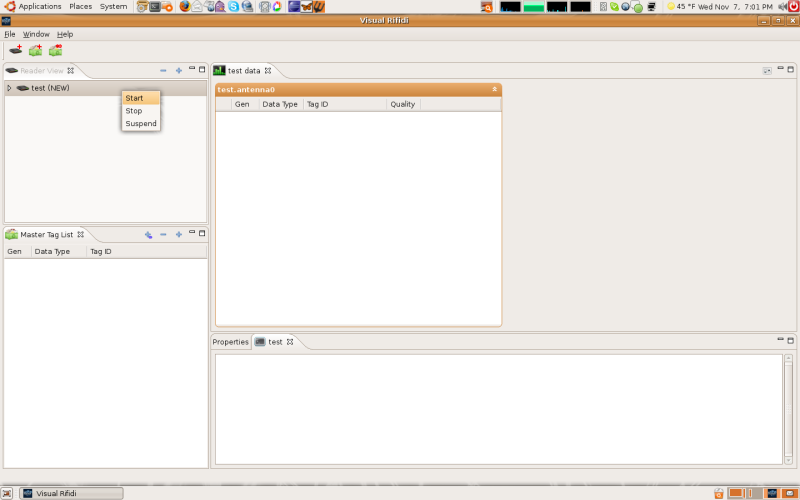 Rightclick on the reader to begin
 - The reader may be stopped at any time right clicking and pushing stop.


Adding and Removing Tags
- First you will need to create the tags. There are two ways to do this:
- Manual entry may be done by entering tags into the provided text field and clicking add.
- Click on the add multiple tags button
- Follow the steps in the tag creation wizard
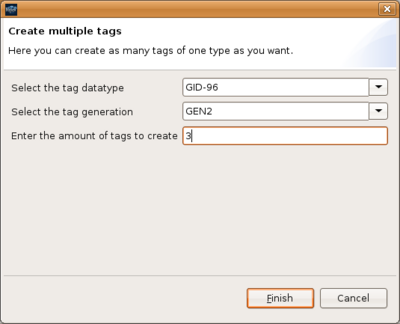 Tag creation wizard
 - Removal may also be done in the similar manner by clicking remove tag after either selecting tags from the list or manually entering the tag.
- Tags may also be added from an XML file. A few example tag files are included with the program installation. Loading tag files are not additive, however, and will replace any data already present in the reader.
- Manual entry may be done by entering tags into the provided text field and clicking add.
- Next Add the tags by dragging and dropping them onto a reader
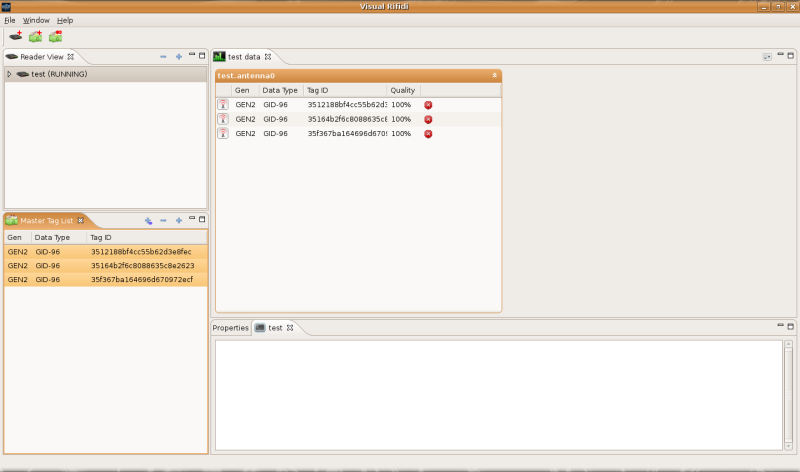 Tags on an Antenna


Viewing Results
To view the results of adding tags on the fly, one may either have a supporting tool open, such as the Alien RFID Gateway, or simply use telnet to perform command interaction with the reader. To telnet into the reader, simply connect to the address given to the reader when it was started. Once connected, the following commands may be useful.
get TagList - Displays the tags currently detected by the reader.
get $PROPERTY - Returns the value for the passed property.
set $PROPERTY=$VALUE - Sets the passed property to the passed value.
q - Close the connection
Quickstart Video
A video of these installation steps can be seen here: http://www.rifidi.org/rifidipackage/rif_out.html