Edge Server Development Environment
From RifidiWiki
This document details the steps necessary to set up a development environment in order to either develop a custom Rifidi Edge Server application, or modify an existing Edge Server bundle.
Configuring eclipse environment
- Download and install version 1.7 (32 bit only) of the Java SE Development Kit (JDK) for your OS.
- Download the latest version of the Rifidi Edge Server SDK.
- Download the Juno release of Eclipse for RCP and RAP developers.
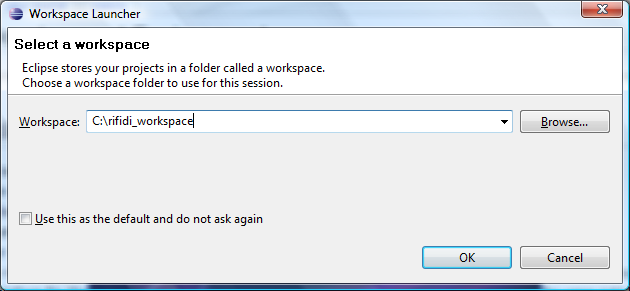
- Run eclipse and create a new workspace.
- Unzip the Rifidi Edge Server SDK into the newly created workspace directory on your file system.
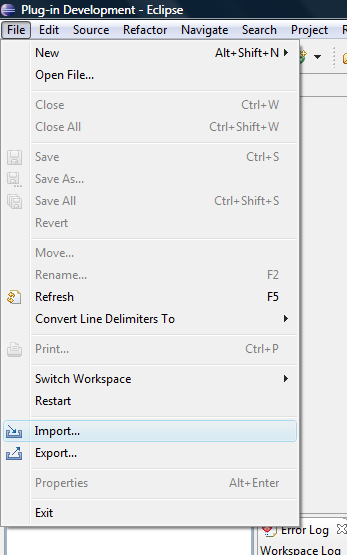
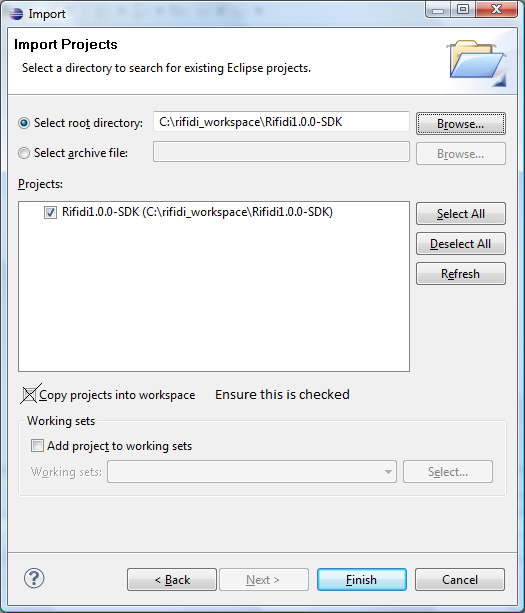
- In eclipse go to File->Import. Choose "Existing Projects into Workspace". Now select the SDK folder (which must reside in workspace directory).

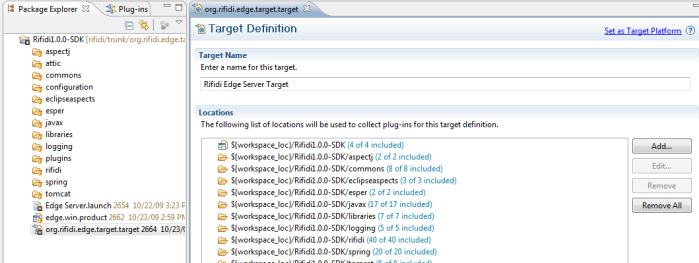
- Open up the target platform file (the file that ends in .target). Click the button that says "set as target platform" on the upper right-hand corner of the page.
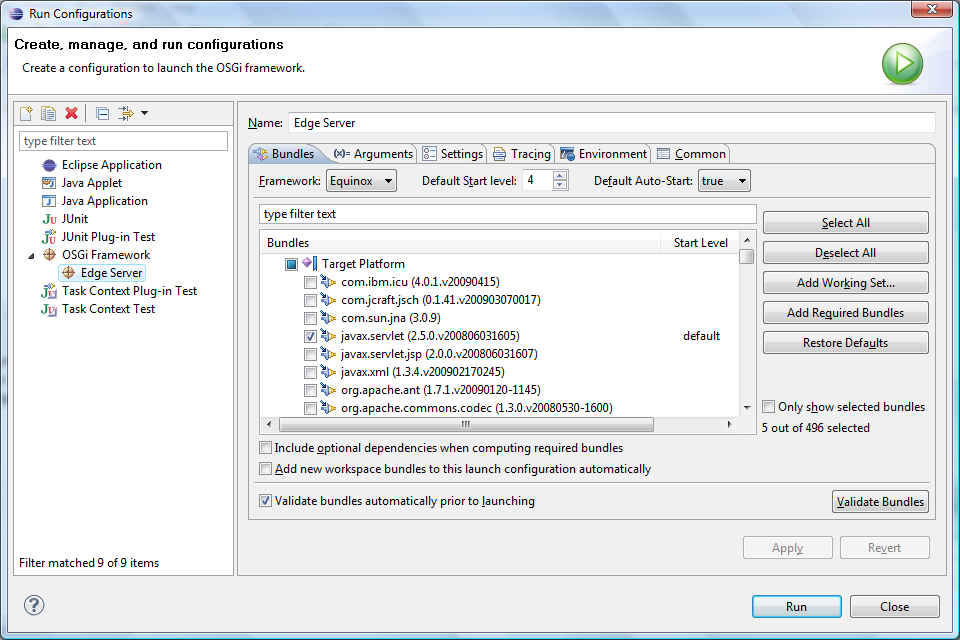
- Go to Run->Run Configurations. Open up the Edge Server OSGi run configuration (might be an item under "OSGi Framework"). Click Run. For more information about the run configuration see How to configure the run configuration in eclipse


Congratulations! You have successfully set up and configured your eclipse environment and are ready to develop an edge server application!
See the Northwind Demo portion of our developer documentation for instructions on how to develop your first application to run on the edge server.