Difference between revisions of "Designer User's Guide"
From RifidiWiki
| Line 15: | Line 15: | ||
*Windows Users: Simply click the shortcut located in the Rifidi folder in the Start Menu/Programs folder. | *Windows Users: Simply click the shortcut located in the Rifidi folder in the Start Menu/Programs folder. | ||
*Linux Users: Double click the executable file located in the installation directory. | *Linux Users: Double click the executable file located in the installation directory. | ||
| + | |||
| + | =Getting Started - Example Designer Simulation= | ||
| + | ==Create Layout== | ||
| + | ==Add a Conveyor== | ||
| + | ==Add a Push Arm== | ||
| + | ==Add a Gate== | ||
| + | ===Select Reader=== | ||
| + | ==Add a Producer== | ||
| + | ==Assign a Data Producer to a Producer component== | ||
| + | ==Create a Group== | ||
| + | ==Add Components to Group== | ||
| + | ==Turn On Components== | ||
| + | ==Start Simulation== | ||
| + | ==Pause Simulation== | ||
| + | ==Reset Simulation== | ||
| + | |||
=Layouts= | =Layouts= | ||
| Line 65: | Line 81: | ||
=Properties= | =Properties= | ||
| − | + | ||
| − | + | ||
| − | + | ||
| − | + | ||
| − | + | ||
| − | + | ||
| − | + | ||
| − | + | ||
| − | + | ||
| − | + | ||
| − | + | ||
| − | + | ||
| − | + | ||
| − | + | ||
=Quickstart Video= | =Quickstart Video= | ||
A video of these installation steps can be seen here: http://www.rifidi.org/rifidipackage/rif_out.html | A video of these installation steps can be seen here: http://www.rifidi.org/rifidipackage/rif_out.html | ||
Revision as of 00:58, 21 December 2007
Contents
Requirements
- Microsoft Windows 2000/XP/2003 or Linux (Ubuntu, Red Hat, SuSe)
- Sun Java Runtime Environment 1.5 (J2SE 5.0) or higher
Installation
Emulator is completely written in Java so installation is very easy. Additionally, Emulator is packaged in a standard installer.
- Download the latest version of Rifidi Emulator from http://sourceforge.net/projects/rifidi/
- Double click to run the install. Follow the on screen instructions.
Launching Rifidi Designer
- Windows Users: Simply click the shortcut located in the Rifidi folder in the Start Menu/Programs folder.
- Linux Users: Double click the executable file located in the installation directory.
Getting Started - Example Designer Simulation
Create Layout
Add a Conveyor
Add a Push Arm
Add a Gate
Select Reader
Add a Producer
Assign a Data Producer to a Producer component
Create a Group
Add Components to Group
Turn On Components
Start Simulation
Pause Simulation
Reset Simulation
Layouts
Create Layout
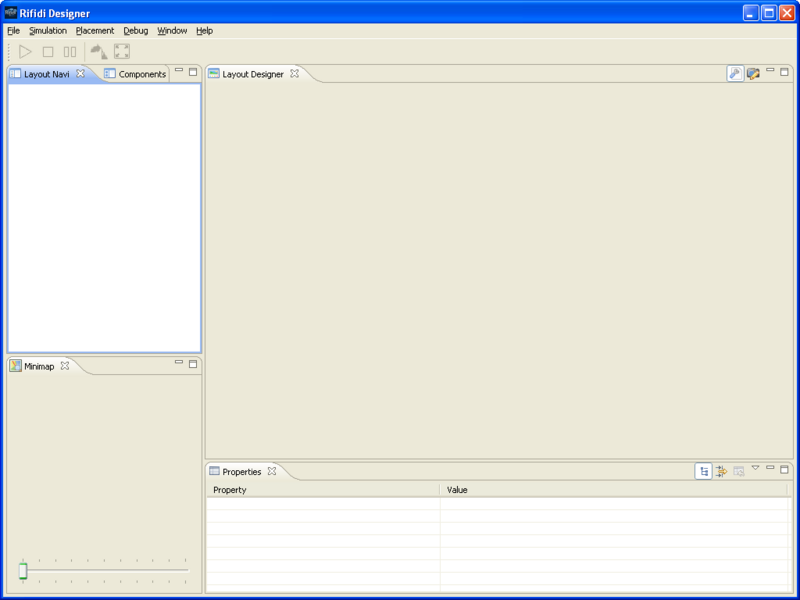
- Once the program is loaded, the main UI will be present.
- To create a new layout, click the 'file' and 'new layout'.
- Enter in a layout name, select size of the room (64x64 or 256x256 square feet) and click 'Finish'.
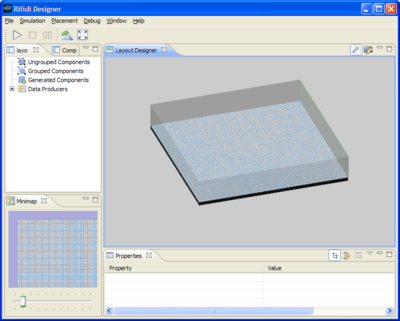
- A new empty layout will be displayed in the UI ready for use
Open Layout
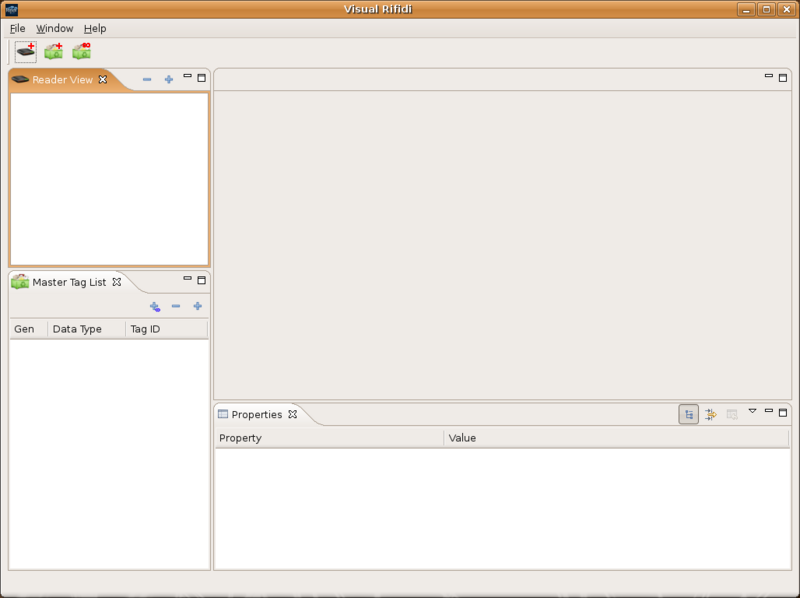
- Once the program is loaded, the main GUI will be present.
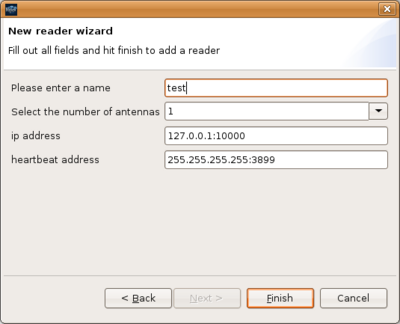
- To start the reader, click the 'add reader button'.
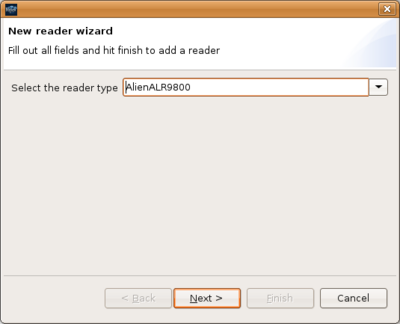
- Select the reader type to be emulated and pick the address to start the reader on. For the purposes of this quickstart guide, start an Alien Reader.
- Select the Reader's IP and port address. 127.0.0.1:1000, will use the loopback address of the current system and start listening on port 30000.
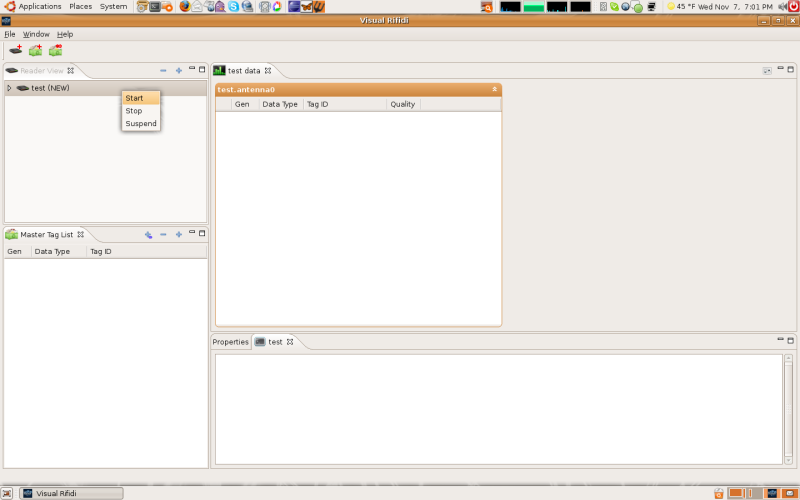
- Right click the reader and press start
- The reader may be stopped at any time right clicking and pushing stop.
Components
Viewing
Adding to Layout
Rename Components
Delete Components
Placement
Moving Components
Rotating 90%
UnGrouped Components
Grouped Components
Create Group
Add Components
Rename Group
Delete Group
Generated Components
Data Producers
MiniMap
Zoom in/Zoom out
Simulation
Turn on Components
Play
Pause
Reset
Properties
Quickstart Video
A video of these installation steps can be seen here: http://www.rifidi.org/rifidipackage/rif_out.html
